
Test Keyboard Keys guide
When people search for how to test keyboard keys, they usually do not need a technical matrix report first. They need a simple order they can follow without skipping Esc, function keys, arrows, modifiers, punctuation, or the numpad. This page turns the live keyboard visualizer into a practical checklist.
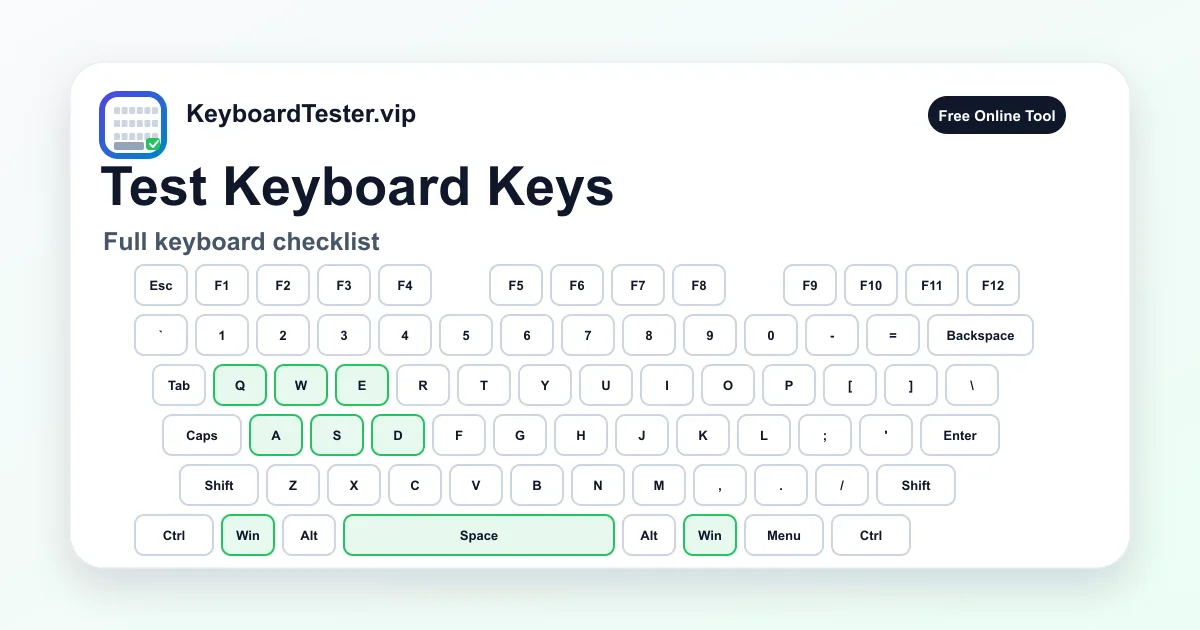
The safest way to test keyboard keys is to use the same sequence every time: focus the page, reset the tester, start at the top-left corner, move across each row, and record anything that misses, repeats, or shows the wrong label. Random typing can miss many important keys, especially shortcuts and editing keys.
A complete pass should test keyboard keys that are easy to forget, not only the letters you use in a sentence. That is why the checklist separates top-row keys, modifiers, navigation keys, arrows, and the numpad before you judge the keyboard.
Use this page before selling a keyboard, after a spill cleanup, after replacing a switch, before returning a laptop, or when a buyer asks for proof. If every single-key check passes but a shortcut still fails, move from this checklist to the ghosting test because that problem depends on multiple keys being held together.
Quick diagnostic checklist
- 1
Click inside the tester area before pressing keys so the page receives input.
- 2
Reset the tester before each full pass so old results do not hide a missed key.
- 3
Use this page to test keyboard keys in a fixed order instead of typing random words.
- 4
Press each key once slowly, then retest any suspicious key three to five times.
- 5
Write down whether a key is missing, delayed, duplicated, stuck, or labeled wrong.
- 6
Use the history panel after you test keyboard keys so suspicious inputs are not lost while you move across the board.
- 7
Run a second pass after cleaning, reconnecting, changing layout settings, or replacing a switch.
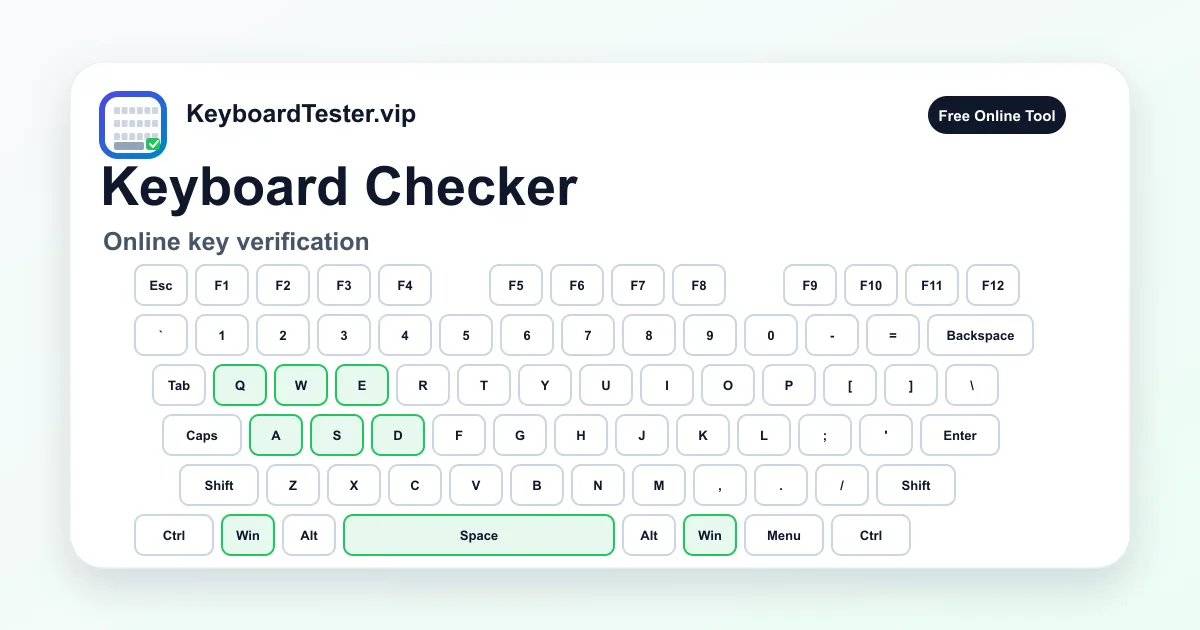
Step-by-step key test order
- 1
Focus and reset the tester
Click the keyboard area, press Reset, and confirm the counters show a clean starting state before you test keyboard keys.
Watch for: If normal letter keys do not appear after focus, check browser focus, USB connection, battery, or pairing first.
- 2
Start with Esc and F1-F12
Press Esc, then move across F1 through F12, Print Screen, Scroll Lock, and Pause if those keys exist on your board.
Watch for: Some laptop top-row actions may be firmware-controlled. Test their normal F-key behavior and Fn-layer behavior separately.
- 3
Move through the number row
Press the backtick key, 1 through 0, minus, equals, and Backspace. Use Shift later if you need to confirm symbols.
Watch for: Wrong symbols usually point to layout settings. A key that never lights up points to input or hardware.
- 4
Check the letter rows and punctuation
Move row by row through QWERTY, the home row, and the bottom letter row. Include brackets, slash, semicolon, quote, comma, and period.
Watch for: A whole row or column failure is more serious than one missed key and can indicate matrix or ribbon damage.
- 5
Test left and right modifiers
Press left Shift, right Shift, left Ctrl, right Ctrl, Alt, Win, Command-style positions, Menu, and Space separately.
Watch for: Do not assume both sides are the same. One modifier can fail while the matching key on the other side still works.
- 6
Finish navigation, arrows, and numpad
Press Insert, Home, Page Up, Delete, End, Page Down, all arrow keys, Num Lock area, operators, numbers, decimal, and numpad Enter.
Watch for: These keys are easy to skip, but they matter for spreadsheets, games, shortcuts, editing, and resale checks.
- 7
Retest only the suspicious keys
Repeat each suspicious key slowly, then try normal typing speed. Compare wired mode, another port, or another app if possible.
Watch for: Repeated extra presses belong in the double type test. Shortcuts that fail only in combinations belong in the ghosting test.
Coverage zones to verify
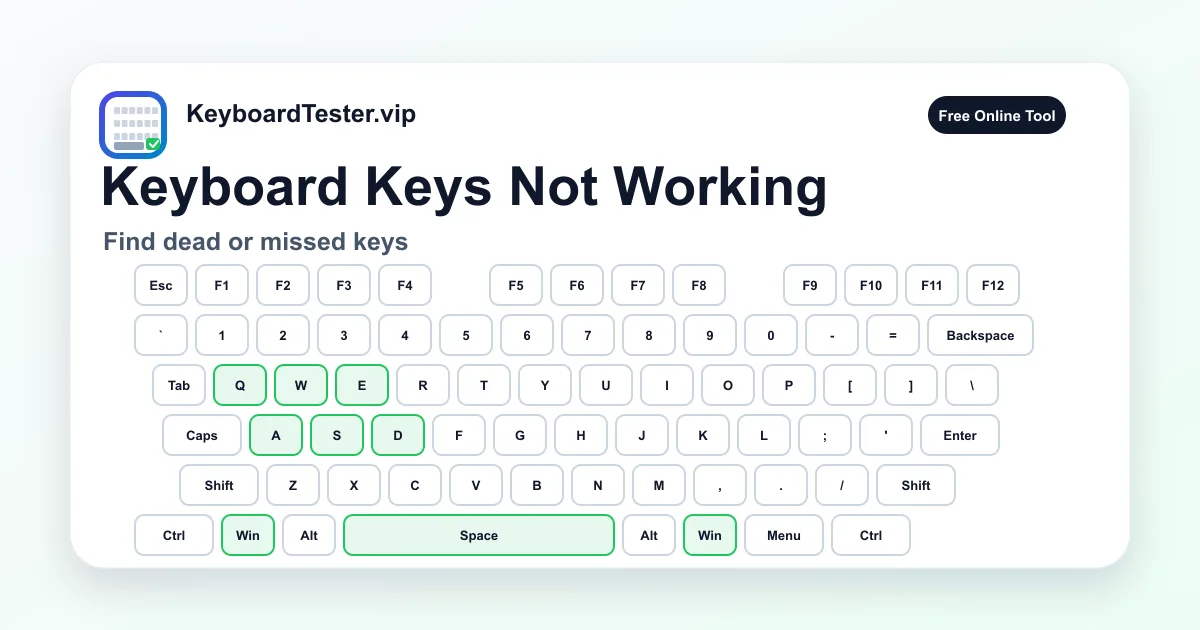
Function and system row
Esc, F1-F12, Print Screen, Scroll Lock, Pause
This catches top-row failures that normal typing never touches, especially after firmware updates or laptop Fn-lock changes.
Number row and symbols
Backtick, 1-0, minus, equals, Backspace, shifted symbols
If the key lights but the typed symbol is wrong, layout settings are more likely than a broken switch.
Letter and punctuation rows
QWERTY rows, brackets, slash, semicolon, quote, comma, period
This is the core typing area when you test keyboard keys for daily work, repairs, buying checks, and resale checks.
Left and right modifiers
Left and right Shift, Ctrl, Alt, Win, Command-style keys, Menu, Space
Many people only test one side, but shortcuts depend on both sides working cleanly.
Navigation and arrows
Insert, Home, Page Up, Delete, End, Page Down, arrows
These keys matter for editing, spreadsheets, gaming menus, code navigation, and accessibility workflows.
Numpad and lock states
Num Lock, operators, 0-9, decimal, numpad Enter
If you use accounting, data entry, shortcuts, or gaming macros, this cluster needs a separate pass.
Why order matters when you test keyboard keys
A keyboard can look fine during normal typing while still having a dead function key, broken numpad key, sticky modifier, or navigation key that never gets used in casual text. A fixed order forces you to test keyboard keys outside your normal typing habits, and it gives you a cleaner result than a random sentence.
Start at the top-left corner and move horizontally. Then drop one row and continue. This creates a mental map of where each failure happened. If you test multiple keyboards, the same order also makes results easier to compare across devices.
The same fixed path also helps when you need to test keyboard keys after a repair. You can repeat the exact same route and see whether a cleaned switch, changed keycap, new cable, or different USB port changed the result.
For beginners, the main rule is simple: test keyboard keys in a visible order, not from memory. The screen should prove coverage so you do not forget quiet keys such as Pause, End, Page Down, or right Ctrl.
How to record a useful result
Write down the exact key name and the symptom. Use categories such as missing input, delayed input, duplicated input, stuck active state, wrong label, or only fails with another key held. Those categories matter because they lead to different fixes.
A single missing key usually points to a local switch, scissor mechanism, membrane, or socket issue. Wrong labels usually point to keyboard layout settings. Duplicates suggest switch chatter or repeat settings. Multi-key failures suggest ghosting or rollover limits. If you test keyboard keys for resale, keep this note with the device so the next person can verify the same result.
If you test keyboard keys for a support ticket, include the browser, operating system, connection type, keyboard model, and whether the issue happens in another app. That short record is more useful than saying the keyboard is broken.
Common mistakes during a keyboard key test
Do not test only letters and Space. Many real failures happen on Backspace, Enter, arrows, function keys, and right-side modifiers. Do not ignore numpad keys just because you rarely use them, especially if the keyboard is being sold or returned.
Do not call Fn broken just because it does not light up in a browser. Fn is often handled by keyboard firmware. Check Fn plus F1-F12, brightness, volume, backlight, or media actions outside the browser before deciding the key failed.
A full-board checklist for different keyboard sizes
A full-size 104-key board gives you the widest checklist, but the same method works on tenkeyless, 75 percent, 65 percent, compact, and laptop keyboards. Test only the physical keys you actually have, then note any missing dedicated keys that are hidden behind an Fn layer.
If you test keyboard keys on a compact board, do not stop after letters. Use the board manual or key legends to trigger arrows, navigation keys, Delete, Home, End, Page Up, Page Down, and media actions. A compact keyboard can pass the visible layer while hiding a broken secondary layer.
What to do after a failed checklist pass
Repeat the failed key in the same tester, then test it in another app. If the key fails everywhere, reconnect the keyboard, try another USB port, switch from wireless to wired mode if possible, and inspect for debris or liquid damage. When you test keyboard keys again, use the same order so the result is comparable.
After cleaning or repair, test keyboard keys again using the same order. If a hot-swap switch failure moves with the switch, the switch is suspect. If the failure stays in the socket, inspect the socket or PCB rather than replacing more keycaps.
How to interpret failed keys
| Result | Likely cause | Next step |
|---|---|---|
| Key never lights up | The page is not focused, the device is disconnected, the switch or membrane contact failed, or the key is intercepted before the browser receives it. | Click the tester, reconnect the keyboard, try another port or wired mode, then test the same key in another app before replacing parts. |
| Wrong label or wrong character | The physical key may work, but the operating system language, keyboard layout, remap software, or firmware layer is sending a different character. | Match the Windows or Mac layout setting to your physical keyboard, then test keyboard keys again before changing hardware. |
| Key works only with hard pressure | Dust, liquid residue, a worn scissor mechanism, a bent stabilizer, or an inconsistent mechanical switch can make the contact unreliable. | Clean carefully, reseat the keycap or switch if the board supports it, and record whether the symptom improves after a second checklist pass. |
| One press creates two inputs | This is usually switch chatter, overly aggressive repeat settings, or a firmware debounce issue rather than a missing-key problem. | Open the double type test and tap the same key 20 to 30 times so you can separate real chatter from normal long-press repeat behavior. |
| Works alone but fails in a shortcut | The key itself may be fine, while the keyboard matrix, rollover limit, game mode, or software shortcut conflict drops the combination. | Use the ghosting test for combinations such as W+A+S+D+Shift+Space and compare the result with the single-key checklist. |
| A row, column, or whole cluster fails | Cluster failures can indicate ribbon damage, PCB trace damage, controller issues, liquid damage, or a loose laptop keyboard connector. | Stop treating it like an isolated key. Test another keyboard on the same computer, then inspect the device or repair path based on the affected zone. |
FAQ
What is the best way to test keyboard keys?
The best way to test keyboard keys is to use a fixed row-by-row checklist. Start at Esc, move across each row, include modifiers, navigation keys, arrows, and numpad, then retest only suspicious keys before deciding on repair. This makes it easier to test keyboard keys consistently across laptops, used keyboards, and repaired boards.
How long should a full keyboard key test take?
A careful full-size pass usually takes two to five minutes. It can take longer if you find suspicious keys, because each failed or delayed key should be tested several more times before you record the result.
Should I test numpad keys even if I rarely use them?
Yes. Numpad failures matter for resale, finance work, shortcuts, games, and complete hardware validation. A keyboard can pass normal typing while still having a separate numpad cluster issue.
How do I test keyboard keys on a compact keyboard?
Use the same checklist, but include Fn-layer actions for keys that are not physically dedicated. A 60 percent or 65 percent board may hide arrows, Delete, Home, End, and function keys behind combinations, so test keyboard keys on both the main layer and the layer you use every day.
Can I test external keyboards on a laptop?
Yes. Connect the external keyboard, focus the page, reset the tester, and run the same row-by-row process. If the laptop keyboard and external keyboard behave differently, the issue is likely device-specific.
Why does a key work here but not in one app?
If the tester sees the key but one app does not, the problem may be focus, shortcuts, keybinds, remapping software, remote desktop behavior, or the app itself. Test the same key in another app before replacing hardware.
Why does a key type the wrong character?
Wrong characters usually mean your operating system keyboard layout or input language does not match the physical keyboard. Test the physical key first, then check layout settings if the key lights up but produces the wrong symbol.
What if a key only fails sometimes?
Intermittent failures are important. Retest the key slowly, then at normal speed, and compare wired mode or another USB port if possible. Intermittent misses can come from debris, a worn switch, low battery, or wireless interference.
Should I clean the keyboard before or after testing?
Test first if you need a baseline, then clean and test keyboard keys again using the same order. If the symptom changes after cleaning, debris or residue may be involved. If nothing changes, test keyboard keys in another app or connection mode before assuming the board is beyond repair.